How to deploy an instance on Fuga Cloud using Terraform
Estimated time to read: 6 minutes
In this tutorial, you learn how you can run Terraform scripts and deploy an instance or server on Fuga Cloud. You learn how to install Terraform and which elements a Terraform file consists of. Terraform is an open-source infrastructure as code software tool created by HashiCorp. It is meant to strike a balance between human-readable and editable as well as being machine-friendly.
Prerequisites:
- A Fuga Cloud Account
- Fuga Cloud Credentials
- OpenRC file
- A (local) machine capable of running Terraform (Linux/Mac/windows)
Install Terraform
In this example, I am using a small instance with an Ubuntu 18.04 LTS image.
Of course, you can also run it from your local machine. If you want to install it on your Mac/Windows/Linux machine, check out the installation guide of Terraform.
Install Terraform on Ubuntu 18.04 LTS
Log in with SSH
Update the repository, using the following command:
Install wget and unzip:
Download Terraform:
In this example, I am using 0.12.5. You can get the download link from the latest version of Terraform on their download page.
Unzip/install terraform:
That's it you now have Terraform installed on your machine.
A quick introduction to Terraform
The complete documentation of Terraform can be found here.
Modules
Terraform refers to a module as a container for multiple resources that are used together. A module is basically a .tf file where you have defined one or more resources. In a module, you can include other modules. This way a module can be written for specific tasks and re-used for different runs. The so-called root module, which includes all of your resources (modules) as defined in the .tf files is in your top-level Terraform directory.
A terraform script consists of provider, resource blocks, and variables. The syntax is written in HashiCorp Configuration Language (HCL), but Terraform can also read JSON configurations.
Provider blocks
Terraform needs to know how to connect and talk to the APIs, so it can provision infrastructure. The provider block is used to define and configure the cloud provider in our case, Fuga Cloud. Multiple provider blocks can be used and are not uncommon in Terraform for creating provider independent platforms. More about providers.
Resource blocks
Resource blocks define a resource that exists within the infrastructure. A resource can be a physical component such as an instance or volume, but it can also be a logical resource such as an application like Apache or MySQL. A resource block has two strings { } before opening the block. More about resources.
Variables
Terraform variables are divided into input and output variables.
Input variables
Input variables are stated by a name, type, and value. Although the type and value are not strictly necessary. The variables can be defined in a file or included from another module. I like to keep all my input variables in one module, so I can easily share configurations and change values when needed.
Output variables
Output variables make it possible to get and use information about your infrastructure. Information that often comes available during or after deployment. For example, the assigned IP address of your instance or a volume ID.
Step 1: Load credentials
In order to use Terraform with Fuga Cloud you will need to load a Fuga Cloud credential from an OpenRC file:
OpenRC files can be downloaded from the Fuga Dashboard, see How to download your OpenRC file for more information.
Step 2: Define the provider
Create a file called provider.tf using your favorite editor.
We need to define our cloud provider and how we can log in using the credentials provided by the cloud provider. Copy and paste the following code in the provider.tf file.
In the provider.tf file we are also going to define the SSH key that we are using for the newly deployed instances and push it to OpenStack. Copy and paste the following code into the provider.tf file and remember to replace it with your public key.
# Configure the public key pair
resource "openstack_compute_keypair_v2" "ssh_key" {
  name = "ssh_key"
  public_key = "Your_Public_SSH_KEY"
}
If you don't have a keypair on your Ubuntu machine, you can generate one using the following command: ssh-keygen -t rsa
Step 3: Create a server
Now let’s write the script to deploy an instance on Fuga Cloud. Create a terraform file deploy_instance.tf using your favorite editor.
We are going to define the name of the server, the flavor and all the other things needed to deploy a server. Copy the following script in the deploy_instance.tf
# Creating an Instance
resource "openstack_compute_instance_v2" "server-1" {
  name            = "server-1"
  flavor_name     = "t2.micro"
  key_pair        = "${openstack_compute_keypair_v2.ssh_key.name}"
  security_groups = ["default"]
  block_device {
    uuid                  = "${openstack_blockstorage_volume_v3.boot_server-1.id}"
    source_type           = "volume"
    boot_index            = 0
    destination_type      = "volume"
    delete_on_termination = true
  }
  network {
    name = "public"
  }
}
key_pair is an input variable and is referring to the public key we defined in provider.tf
block_device is an output variable and is referring to the volume we are going to create with the next part of the script.
We want the instance to boot from a volume, and we want it to use an Ubuntu image. Add the following script to your deploy_instance.tf
# Create a bootable-volume with Ubuntu
resource "openstack_blockstorage_volume_v3" "boot_server-1" {
  region      = "ams"
  name        = "boot_server-1"
  description = "system volume for server-1"
  size        = 20
  # Ubuntu 18.04 LTS
  image_id    = "b88f311a-b5f6-49d0-ad44-5304f9a8ef9b"
}
Step 4: Initialize Terraform
Now let's initialize terraform so that it has the right plugins.
You only have to run this command once and will automatically download and installs the terraform provider plugins needed for OpenStack.
Step 5: Terraform plan
The command terraform plan is a dry run of all your scripts(.tf files) that are in that folder and does not make any real changes to your resources or state. Instead, terraform plan is used to create an execution plan. Terraform performs a refresh and then determines what actions are necessary to achieve the desired state.
Type in the following command to see if your scripts are working:
You can also check if the scripts are working without creating an execution plan by using the command terraform validate
Step 6: Run and Deploy
The Terraform apply command is
Type in the following command to make the desired changes to your infrastructure:
Your output should look something like this: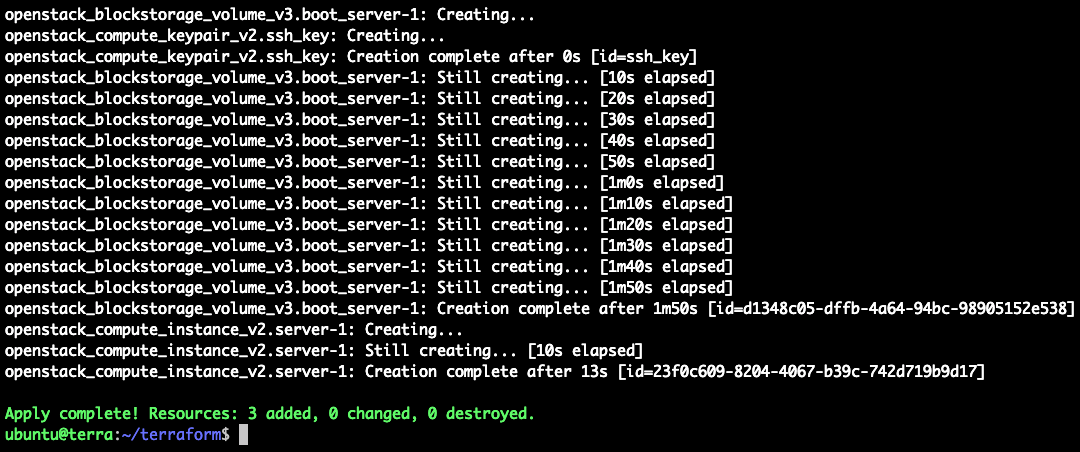
You now have a new instance running with an Ubuntu image and your public key installed.
Step 7: Destroy (optional)
If you want to run some tests or just wanted to see if this tutorial works, Terraform has an easy way to clean up the infra you have just deployed.
Simply run the following command:
This command only destroys resources deployed with terraform.
Conclusion
You learned how to deploy your first instance using Terraform on Fuga Cloud OpenStack. You learned the basic elements a terraform script consists of and how to run that script.