How to create a Minecraft server
Estimated time to read: 5 minutes
In this tutorial you will learn how to create a Minecraft server and play online with friends or family.
Prerequisites
For this tutorial you will need the following:
- An active Fuga account.
- An SSH Key pair.
- An active Minecraft account that is installed on your computer.
This tutorial is tested on a Ubuntu 20.04 LTS server. With the latest Minecraft version of 1.18.2
Step 1 - Create a new security group.
The following steps will explain how to create a security group to connect your Minecraft client to the server.
- Login to your Fuga account.
- Select Network > Security Groups.
- Click on ‘Create security group’.
- Name your security group minecraft-sg.
- Click on ‘Add rule’.
- Select below ‘Open Port’ the option ‘Port’.
- Type the port number ‘25565’.
- Click on ‘Create rule’.
Step 2 - Create a new instance
- Select Compute > Instances.
- Click on ‘Create instance’.
- Select below ‘Boot Source’ the distro ‘Ubuntu 20.04 LTS’.
- Choose between ‘Boot disk’ Ephemeral or Volume.
- Ephemeral is fasted but not redundant.
- Volume is slower but is redundant.
- Choose a Flavor.
- We recommend selecting a flavor with more than 1024MB of RAM.
- Select below network ‘public’.
- Select your own 'Key pair'.
- Select below Security Groups ‘default’ and ‘minecraft-sg’.
- Give your instance a name.
- Click on ‘Launch instance’ for deployment.
Step 3 - Install the Minecraft server.
Login to your server with SSH:
Update your server: Install OpenJDK: Install screen to create a detachable server: Allow port 25565 and port 22 on your firewall: The following steps, you are going to install the latest version of Minecraft (1.18.2). If you wish to have an older version, visit mcversions.net to download the older Minecraft versions.Download the latest jar file:
Rename the jar file:Step 4 - Configure the Minecraft server.
Now that you have downloaded al the packages, start the screen session by using the following command:
After reading the banner, press space. You will be present in the screen terminal session.Run the following command:
By running the command, you will receive a eula.txt file. This is a license agreement for using for using the Minecraft server.You can read the agreement in the following url: https://account.mojang.com/documents/minecraft_eula
Edit the eula.txt file:
Accept the agreement, by changing eula=false to eula=true:#By changing the setting below to TRUE you are indicating your agreement to our EULA (https://account.mojang.com/documents/minecraft_eula).
#Mon Mar 14 14:38:42 UTC 2022
eula=true
In your current directory, you will find the 'server.properties' file. This file contains the configuration for your Minecraft world.
Enter the file:
The file will look like this:#Minecraft server properties
#Mon Mar 14 14:39:37 UTC 2022
enable-jmx-monitoring=false
rcon.port=25575
level-seed=
gamemode=survival
enable-command-block=false
enable-query=false
generator-settings={}
level-name=world
motd=A Minecraft Server
query.port=25565
pvp=true
generate-structures=true
difficulty=easy
network-compression-threshold=256
max-tick-time=60000
require-resource-pack=false
use-native-transport=true
max-players=20
online-mode=true
enable-status=true
allow-flight=false
broadcast-rcon-to-ops=true
view-distance=10
server-ip=
resource-pack-prompt=
allow-nether=true
server-port=25565
enable-rcon=false
sync-chunk-writes=true
op-permission-level=4
prevent-proxy-connections=false
hide-online-players=false
resource-pack=
entity-broadcast-range-percentage=100
simulation-distance=10
rcon.password=
player-idle-timeout=0
force-gamemode=false
rate-limit=0
hardcore=false
white-list=false
broadcast-console-to-ops=true
spawn-npcs=true
spawn-animals=true
function-permission-level=2
level-type=default
text-filtering-config=
spawn-monsters=true
enforce-whitelist=false
resource-pack-sha1=
spawn-protection=16
max-world-size=29999984
If you want to learn more about the server.properties you can visit the following website here.
Now that you accepted the license agreement of EULA, it's time to start the server.
Run the following command again:
It will take a couple of minutes to gender your Minecraft world and you will receive the following output: You are now dropped in the administrator control panel. From this terminal you can execute administrator commands and control your Minecraft server.Do not exit the administrator control panel, this will stop the Minecraft server.
Exit the screen session by using the action: Ctrl + A + D
Step 5 - Reconnect with the administrator control panel.
Now that the server is up and running, you want to keep the server online at all time, even after disconnecting from your SSH session. The following steps will teach you how to reconnect with the Minecraft server.
Run the following command to see all screen sessions:
You'll receive the the screen-ID as showen in the following output:There are screens on:
1358.pts-0.minecraft (03/15/22 09:56:21) (Detached)
1 Sockets in /run/screen/S-ubuntu.
Step 6 - Connect to you server from the Minecraft Client
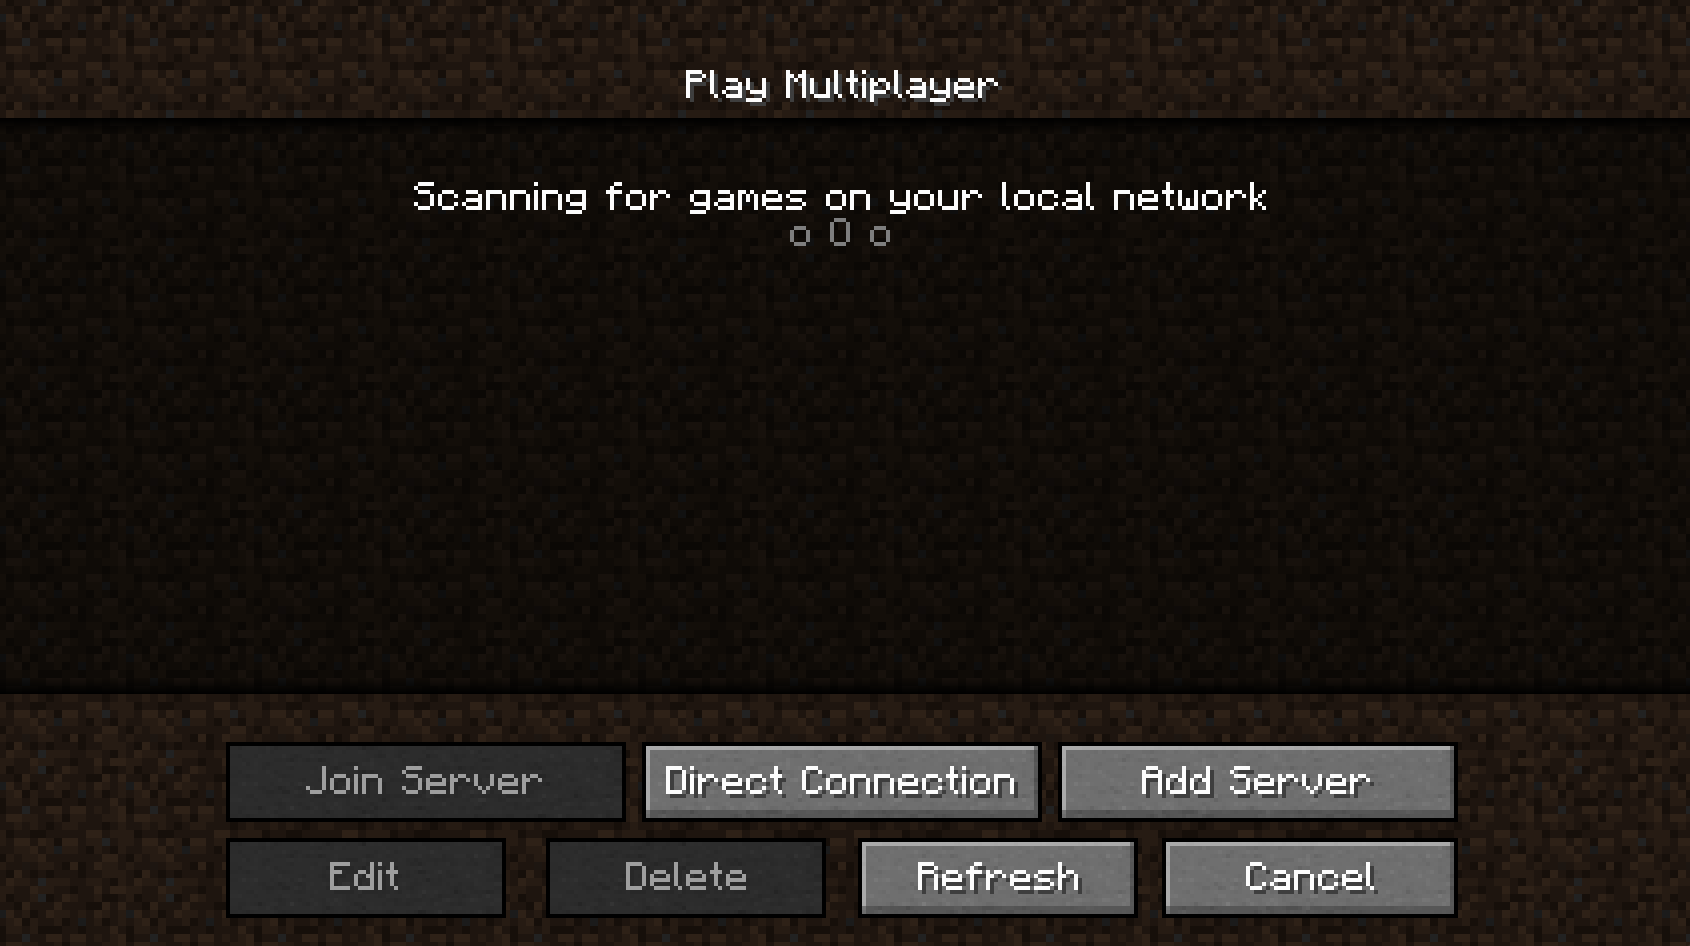
Launch your Minecraft client and select Multiplayer.
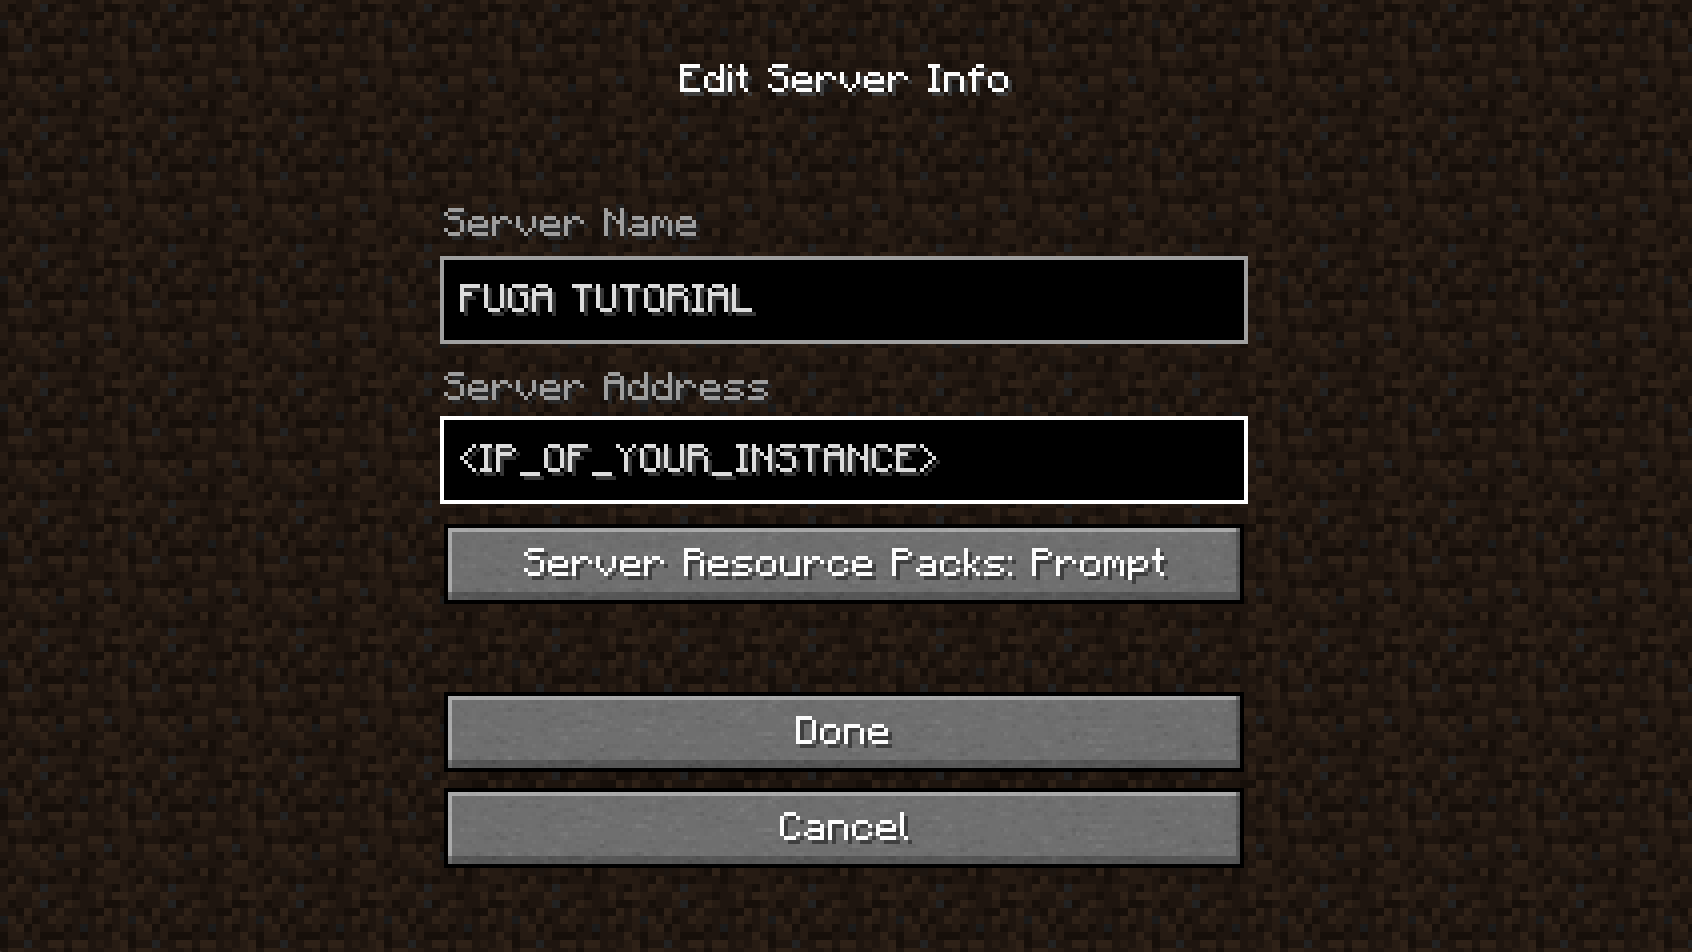
Click on Add Server.
Add the IP-Adres of the instance and click Done.
Select the the server you have just created and click on Join Server.
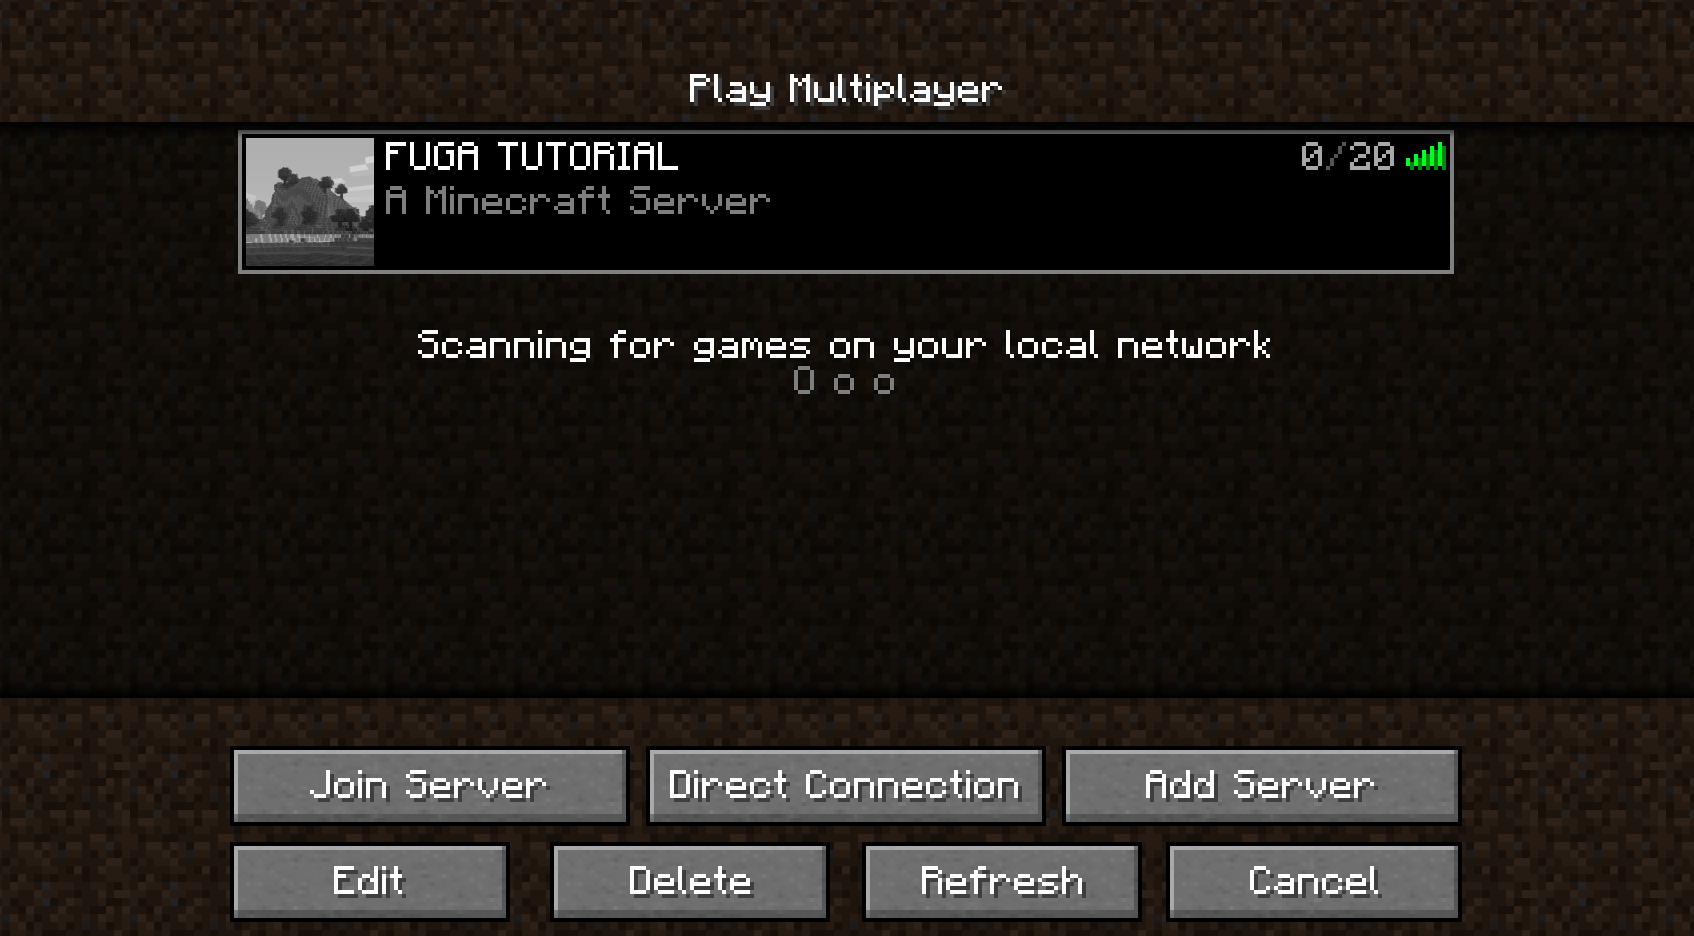
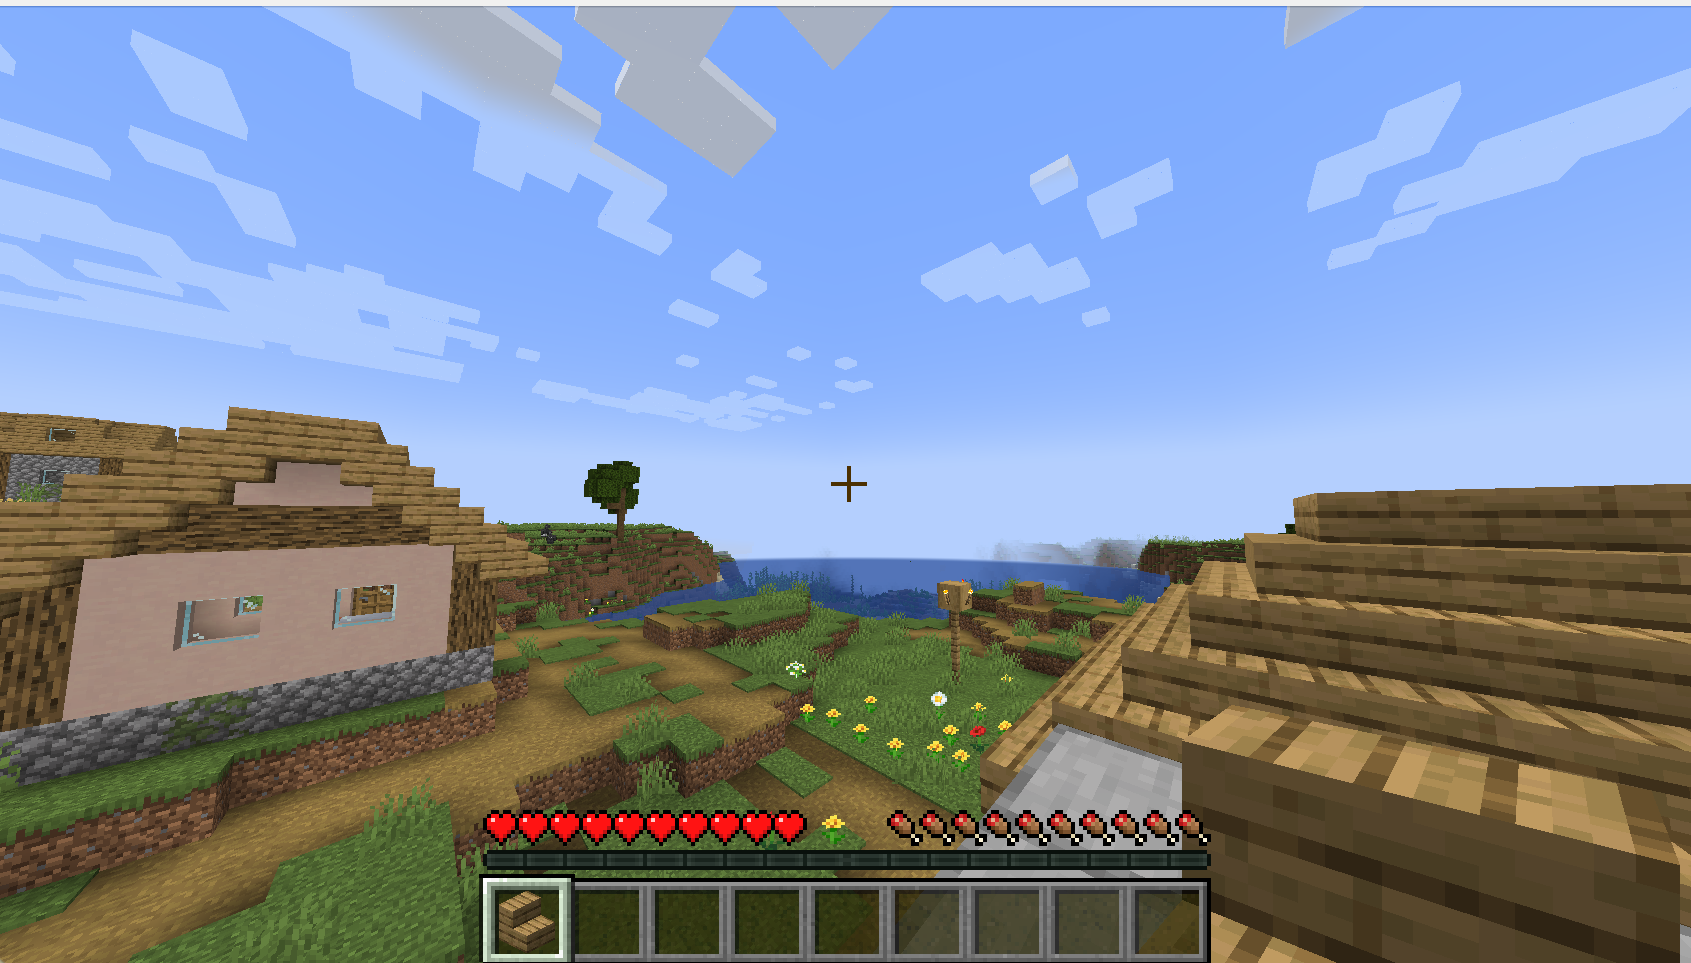
You will be joining your Minecraft world you have just created.
Conclusion
In this tutorial you have learned how to set up and configure your own Minecraft server. You have learned how to keep the server running with screen, how to modify your Minecraft server and connect to it with your Minecraft client.